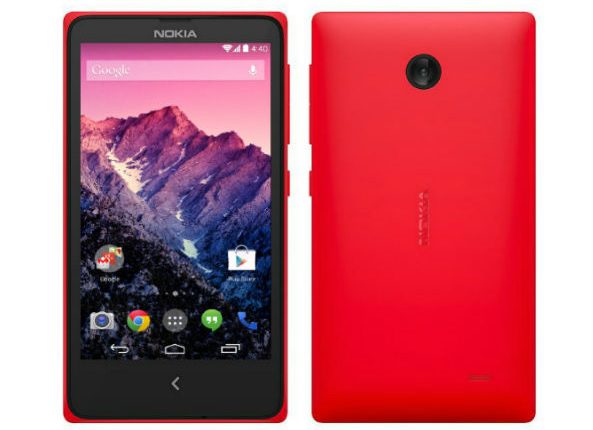
Nokia has finally stepped into the Android smartphone arena (ironically, right after it was acquired by Microsoft). Nokia’s new devices – the Normandy X, X+ and XL, run a slightly older version of Android – 4.1.2 Jellybean – and have no access to any of Google’s services – Play Store, Games, Hangouts, Gmail etc.
However, like with any other Android device – root it and the possibilities are endless (here’s why). Put in a custom ROM, get Google services, boost your battery life, do practically anything you wish to. Follow this simple guide to rooting, and you’re good to go. Before we begin though – here’s a list of stuff you’re going to need:
Nokia Normandy Rooting Prerequisites
- Framaroot 1.9.1 apk (courtesy: XDA Developers)
- A minimum of 50% battery charge on your device.
- USB Debugging enabled (Settings -> Applications -> Development ->Enable USB Debugging)
Of course, you should be aware of some of the consequences of what you’re about to do:
Be Warned
- You WILL void your warranty once you’re done with the process.
- Take a full backup of your data. If not done correctly, this process CAN screw up your device.
Finally, here’s how you root your Nokia Normandy:
Procedure
- Download and move the Framaroot 1.9.1 apk file to your device.
- Get a file manager app – something like ES File Explorer or Astro File Manager.
- Navigate to the location you’ve stored the Framaroot apk file in, and install the app.
- Now, run Framaroot.
- Open the dropdown menu, Install SuperSU, and tap on “Gandalf”.
- You’ll soon see a popup saying the operation was successful.
- Reboot your device, and you’re good to go.
That’s it. The simplest guide to rooting your Nokia Normandy device. If you want to tinker with your phone, head over to XDA Developers, flash a new ROM, remove bloatware, or do anything else you like!


